
The following in-depth tutorial will teach you how to schedule messages on WhatsApp using various tools and techniques.
This will ensure you never miss an opportunity to engage with your audience.
Ready? Let’s get started.
| TelebuSocial makes it easy to schedule messages on WhatsApp with a few clicks, whether you want to message 10 or 10,000 contacts. Get started or schedule a demo. |
How to schedule messages on normal WhatsApp using Android
Scheduling messages on WhatsApp using an Android device is as easy as it sounds.
Follow these step-by-step instructions to get started:
- Step 1: Download the WhatsApp scheduler app, “SKEDit” from Playstore. Allow accessibility from the settings.
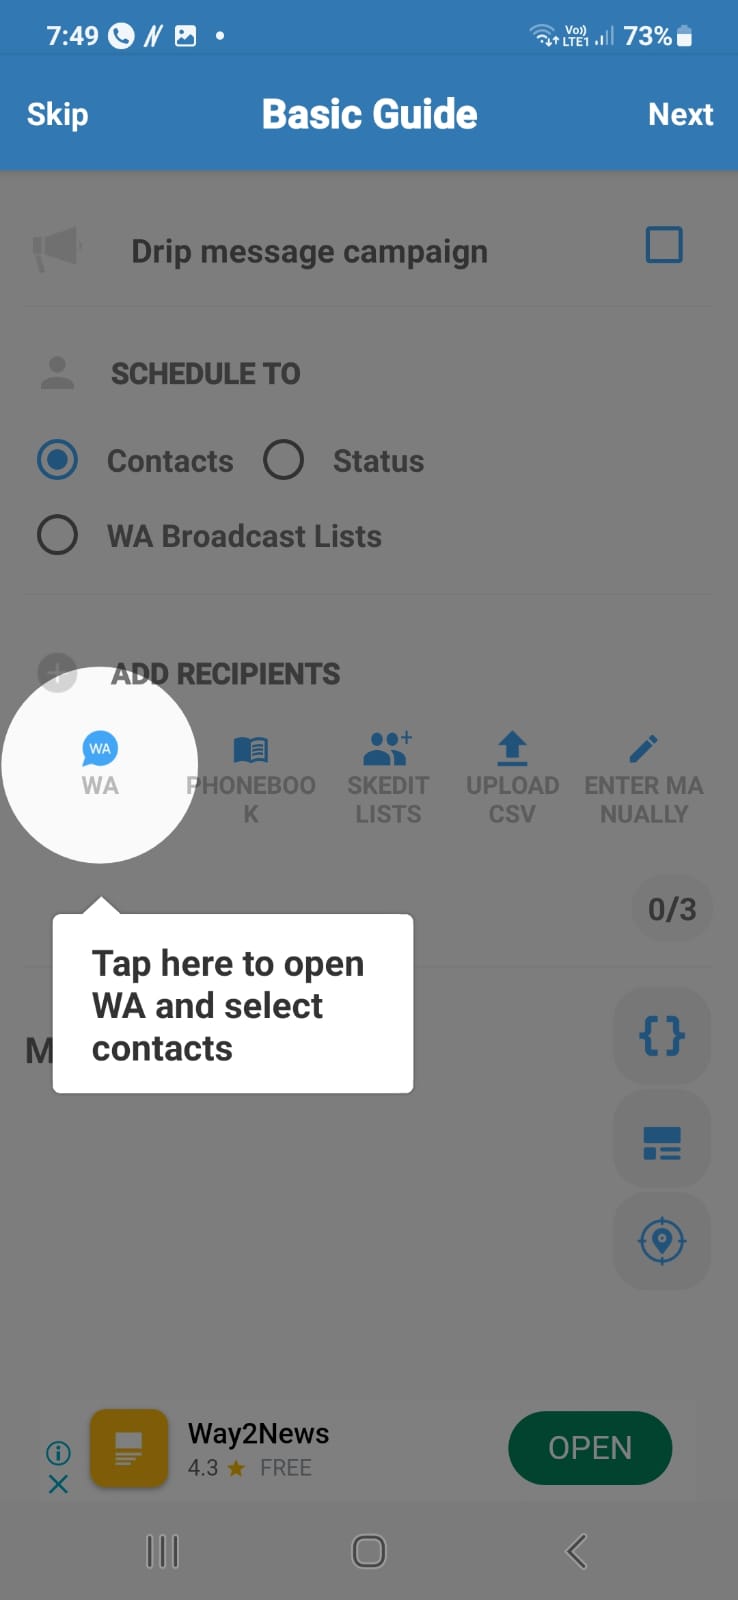
- Step 2: Select a WhatsApp contact or group by opening the app. Next, choose the time and date. If you wish to add an attachment, type the message you wish to schedule, then click the clip icon and the attachment.
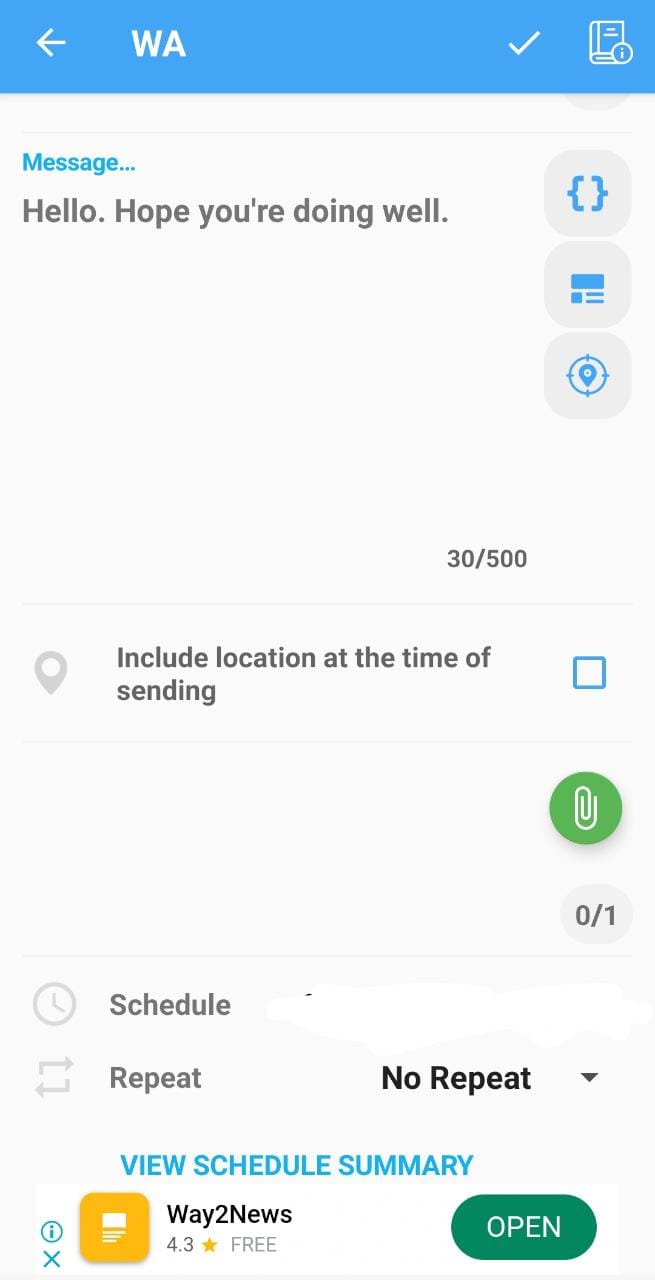
- Step 3: Tap the “Schedule” icon in the top right corner to slot in the WhatsApp message.

- Step 4: Additionally, you can activate “Ask me before sending” to review the message before it is sent. When the planned message is successfully sent, SKEDit will let you know.
Discover the best WhatsApp bulk message sender.
How to schedule messages on normal WhatsApp using an iPhone
If you’re an iPhone user, scheduling WhatsApp messages is equally straightforward.
Follow these steps:
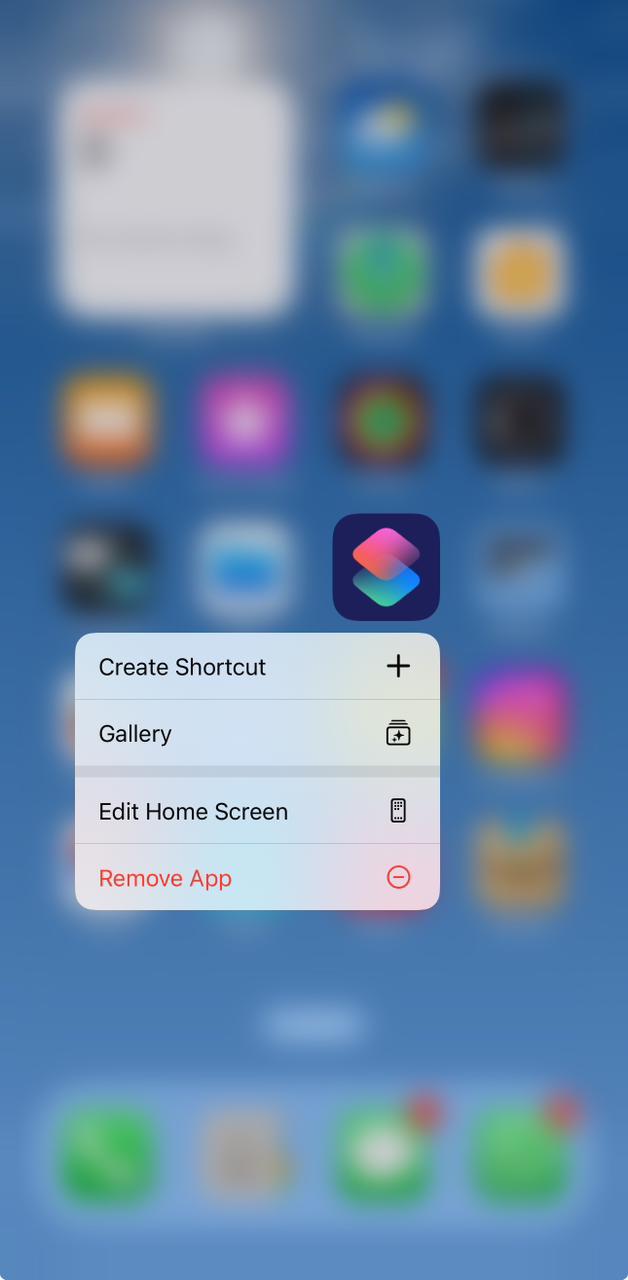
- Step 1: Open the Shortcut App on your iPhone. Download it from the App Store if you don’t have it.
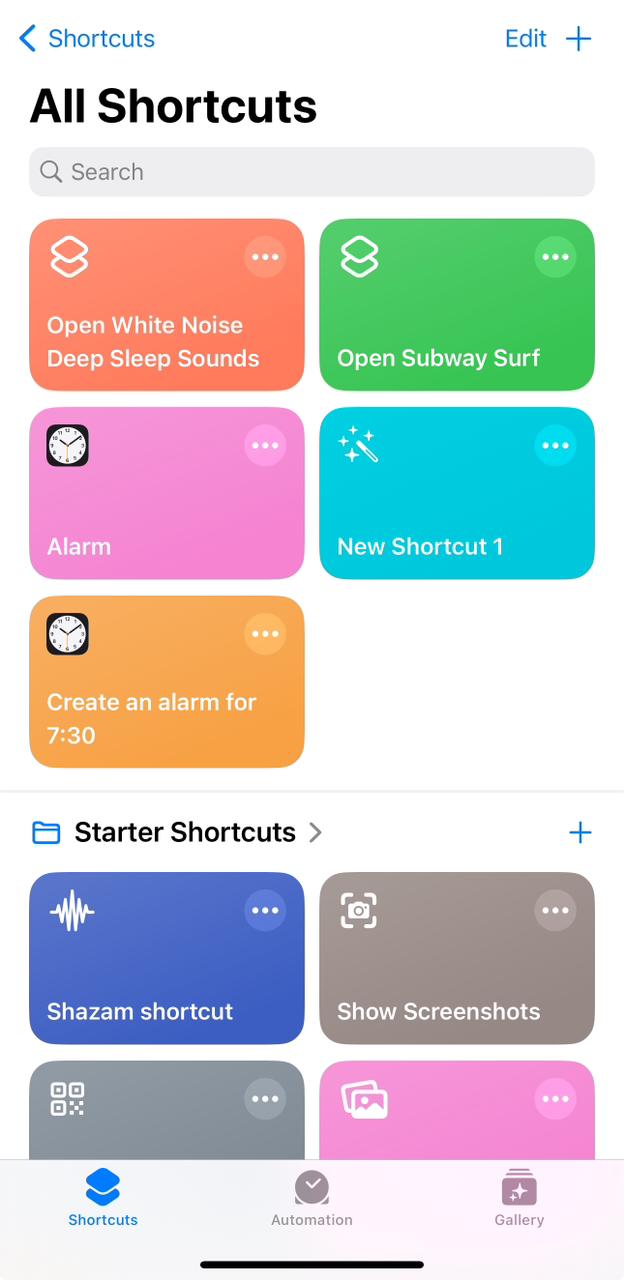
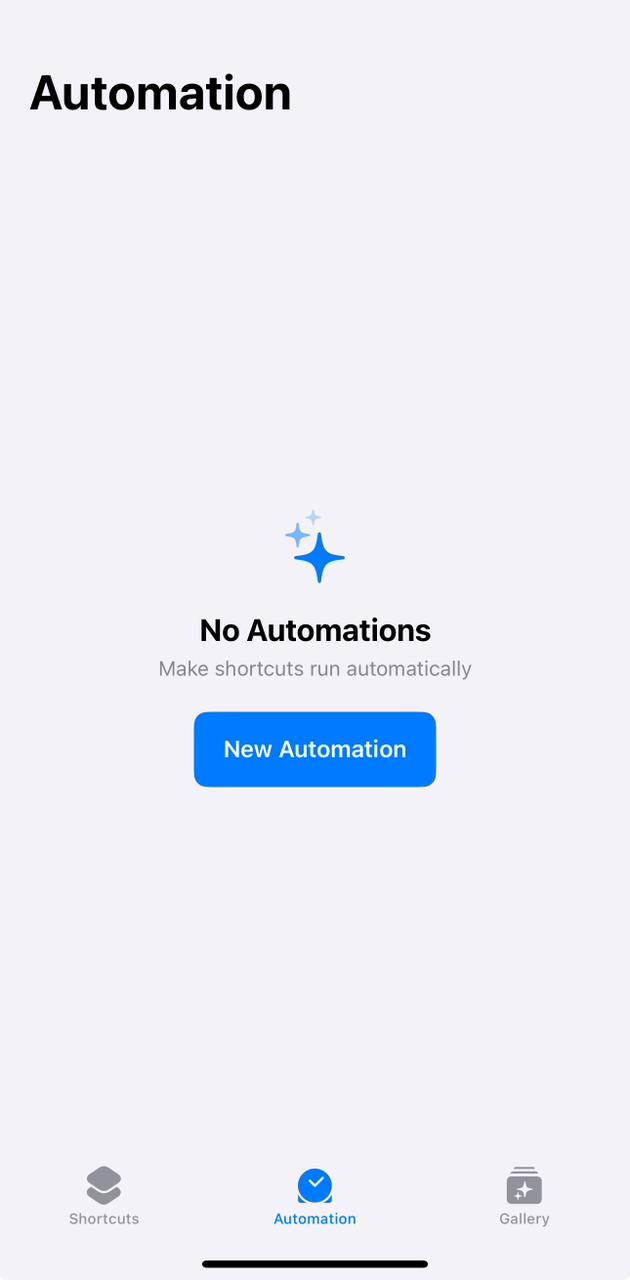
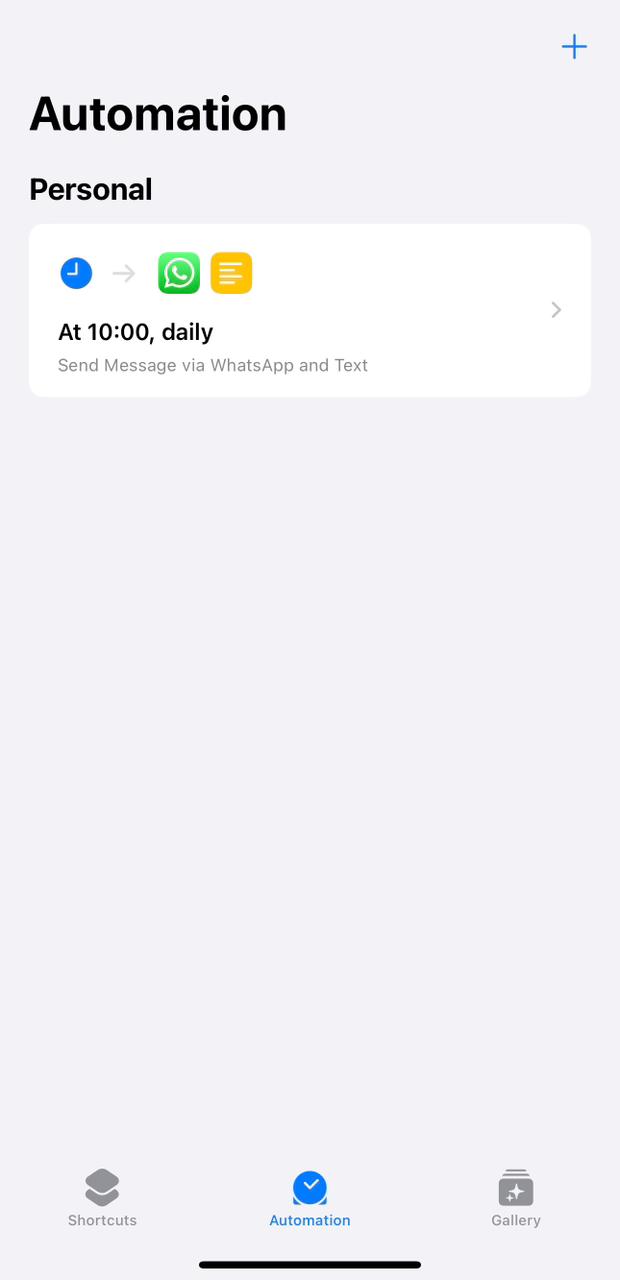
- Step 2: Click “Create Personal Automation” under the Automation tab. If you’ve already established one, select “Create Personal Automation” by tapping the “New Automation” icon in the middle.
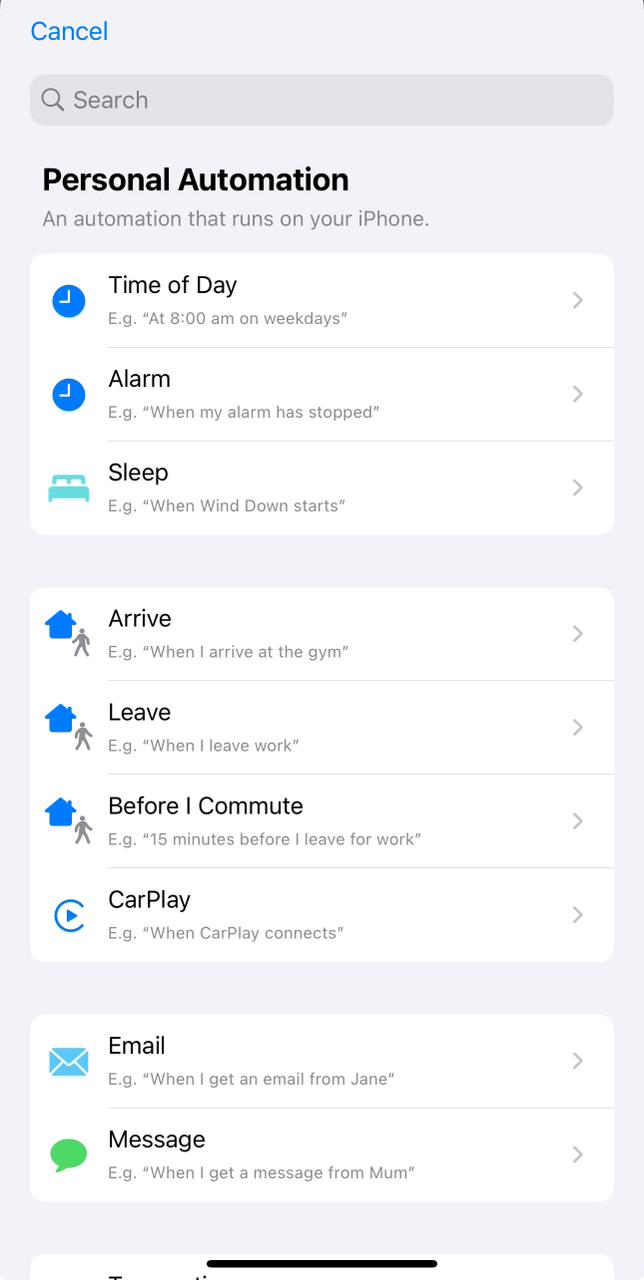
- Step 3: A Time of Day action should be chosen. Set the time you want the automation to run using the timer field on the following screen.
- Step 4: Select from the Daily, Weekly, or Monthly under REPEAT to determine the message frequency, then press Next.
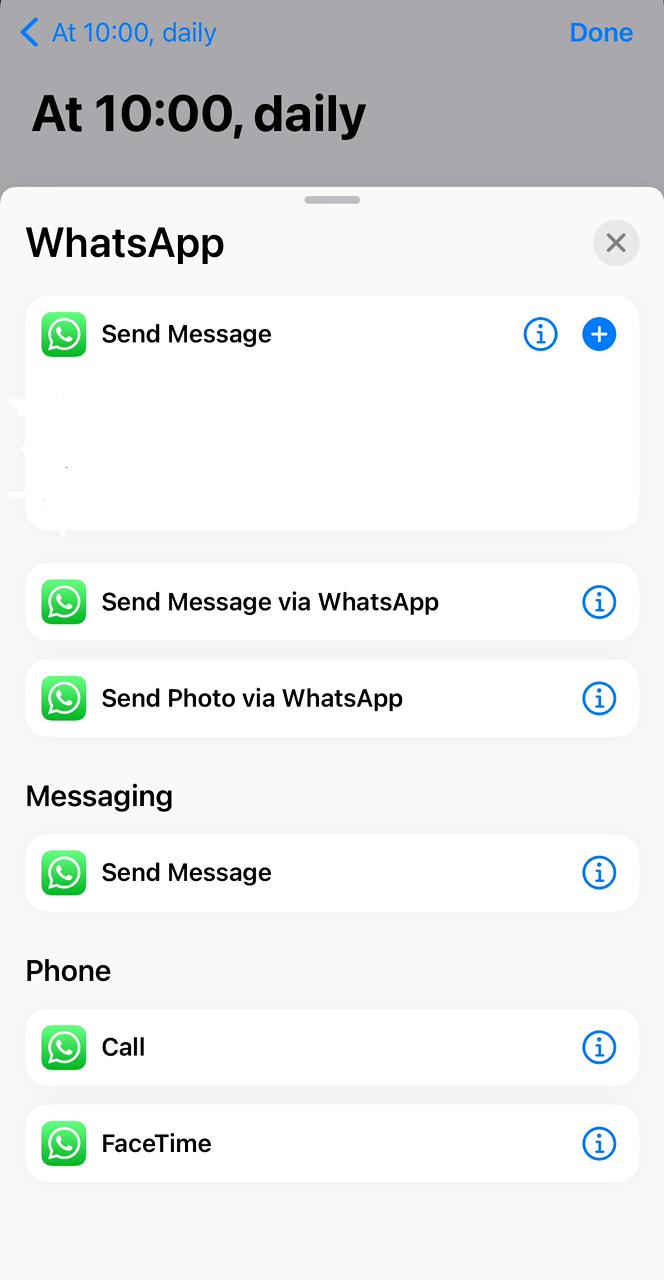
- Step 5: Click the “Next” icon and then click the “New Blank Automation” Action. Select “Add Action” and type WhatsApp in the search bar. (For some iPhones, based on their software update, this doesn’t appear in search results for some reason.)
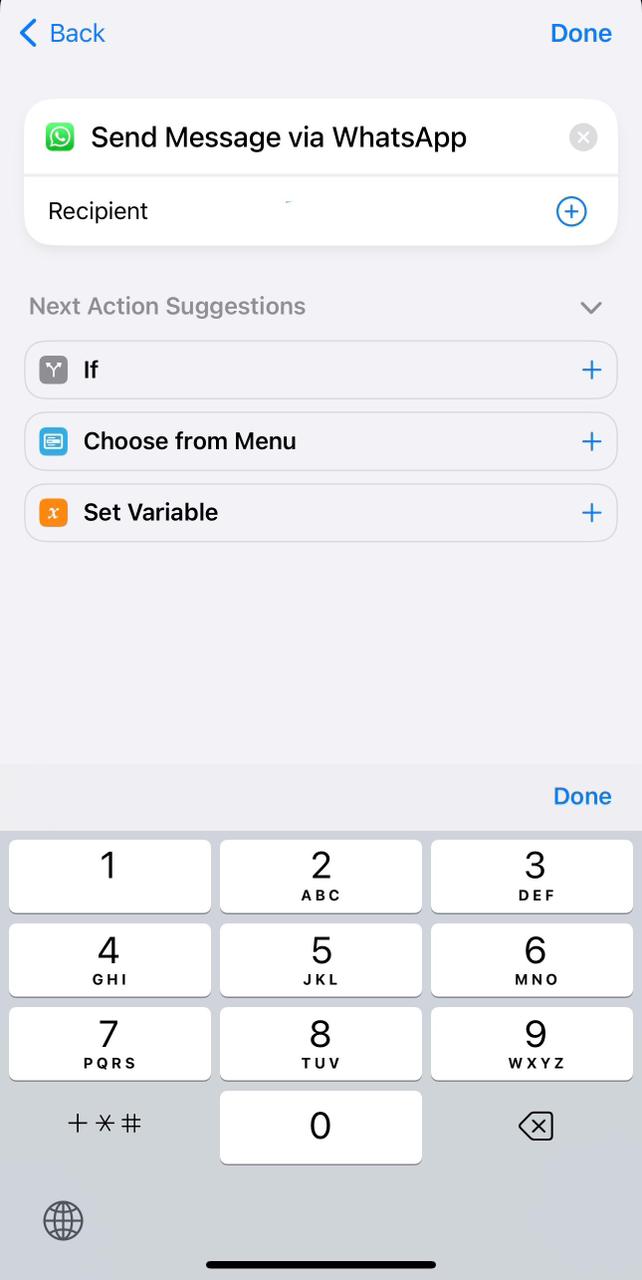
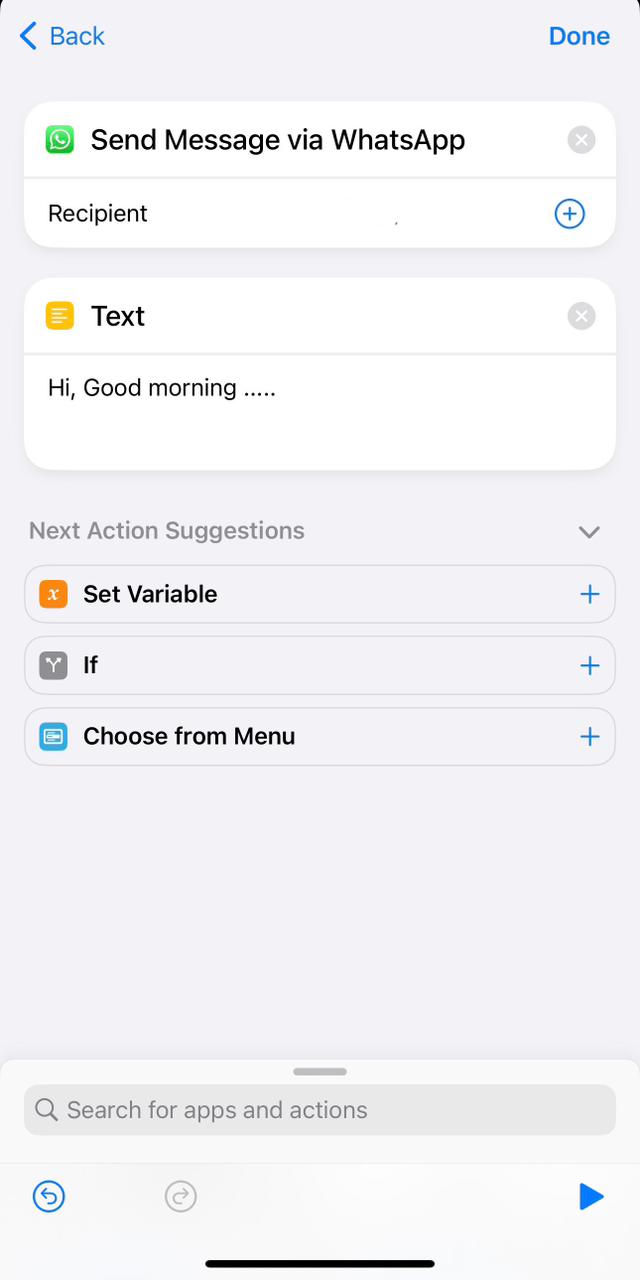
- Step 6: Select “Send Message Via WhatsApp” from the above options. Choose Recipient by entering the number manually or pressing the (+) icon and choosing one of your contacts.
- Step 7: Click “Next Action Suggest,” and from the drop-down, select the “Text” variable & type out your text. Once the text is entered, click “Done”. The recipient will receive your message at the scheduled time and date.
Check out the best WhatsApp chatbot solutions.
How to schedule messages on WhatsApp Web
To schedule a message using the WhatsApp schedule message app on WhatsApp Web from your computer, follow these steps:
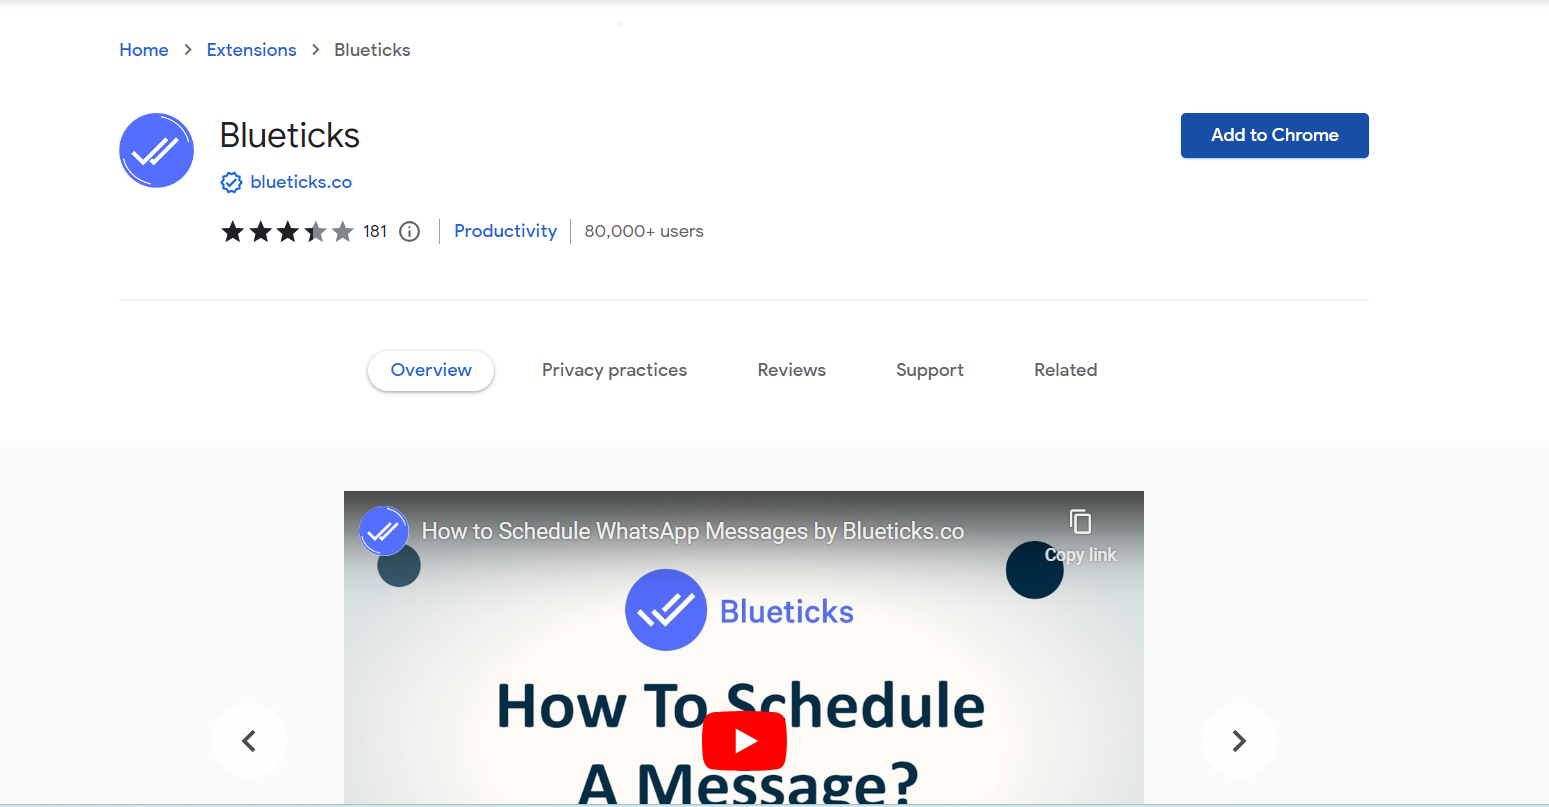
- Step 1: Run through the Chrome Web Store and search for Blueticks. Click the “Add to Chrome button”. After which, sign up by clicking on the Blueticks symbol.

- Step 2: Open WhatsApp Web in Chrome after installing Blueticks. If you aren’t logged in, open WhatsApp on your phone, hit the three dots in the top right corner of the app, and then select WhatsApp Web.
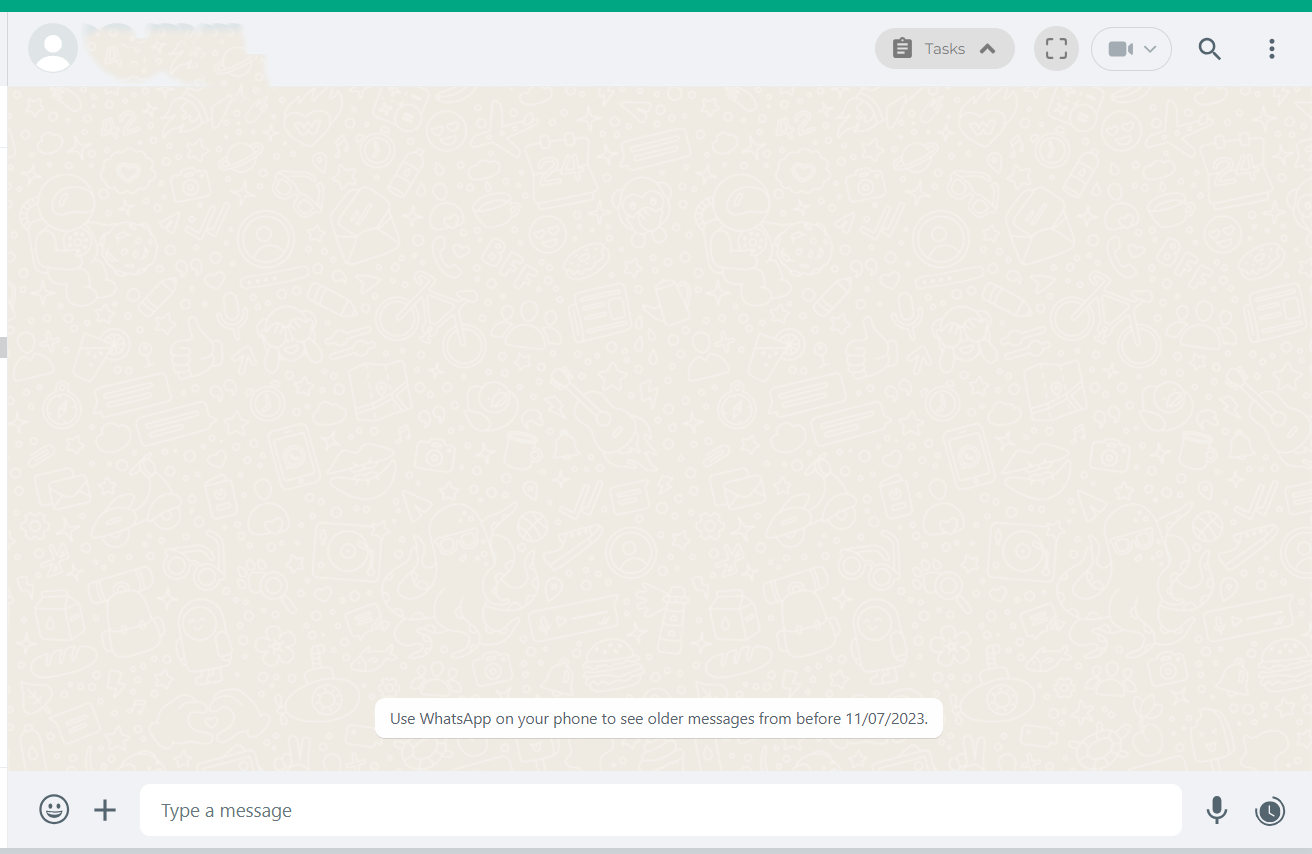
- Step 3: Select a contact or a group to whom you wish to deliver a message at a specific time. Click the “ Clock” symbol at the bottom right of the message box. This will display a pop-up in the “Schedule a message” dialogue box.
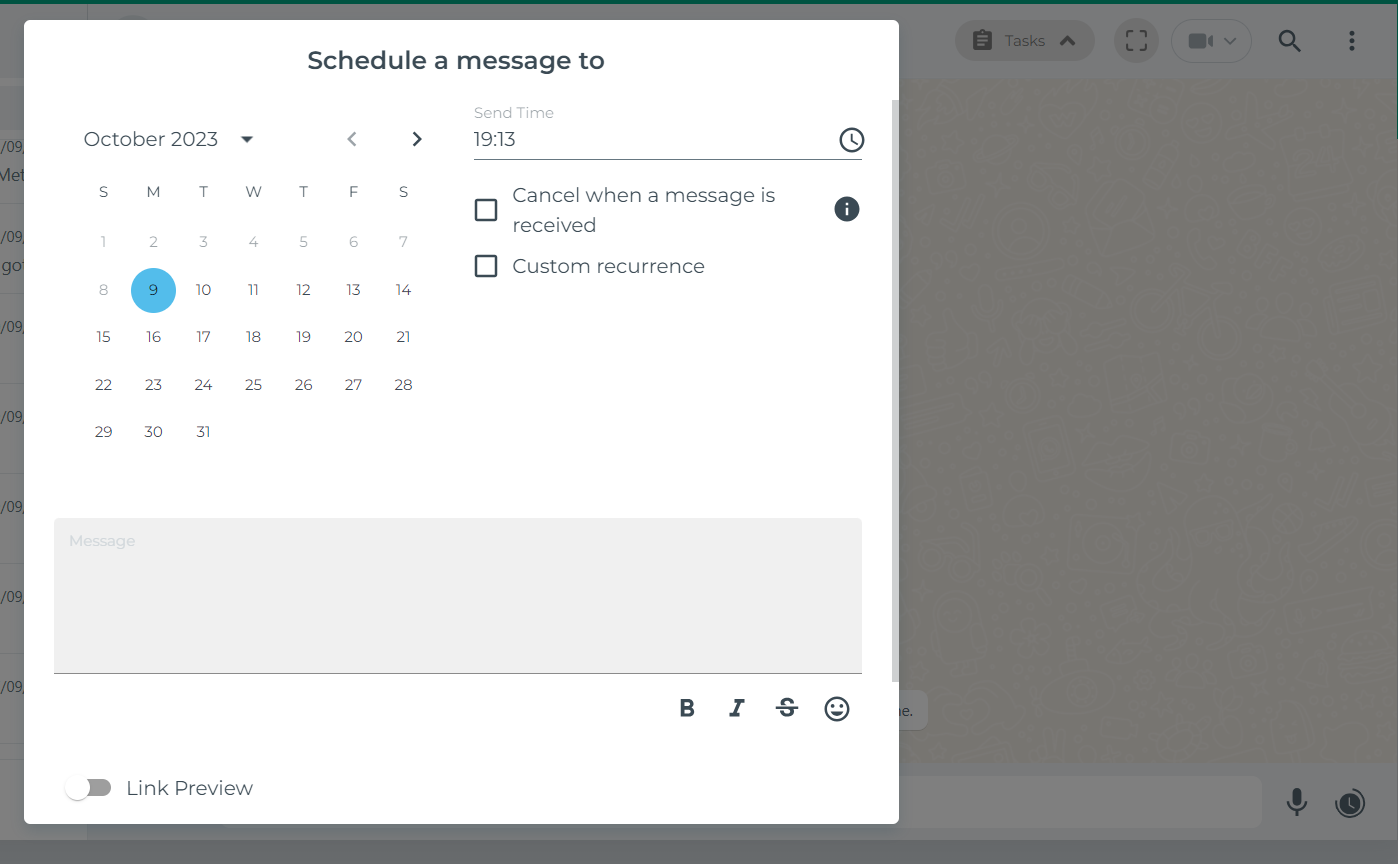
Step 4: Write the message you want to send. Later on, specify the date and time for your message, and if you wish to repeat the occurrence of the message, click on “Custom Recurrence and customise it as per your need.
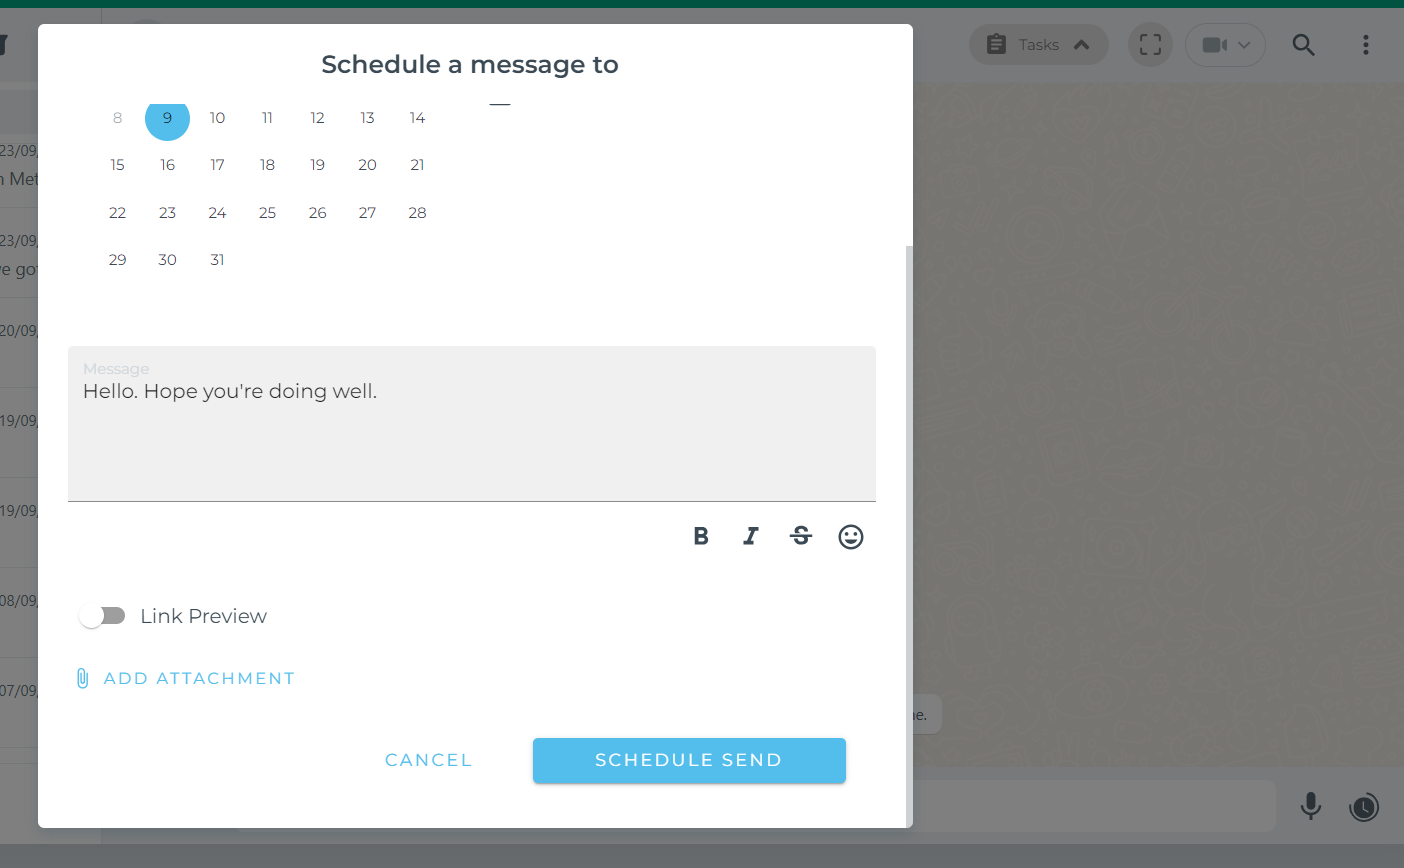
- Step 5: Confirm and click on Schedule. Your message will be received at the designated time.
How to schedule messages on WhatsApp Business
Follow these steps to schedule messages on WhatsApp Business:
- Step 1: Open the WhatsApp Business app on your iPhone or Android.
- Step 2: Tap and select “Settings.” After which, choose “Business Tools.”
- Step 3: Turn the option to ‘on’ for ‘Select Away Message’. Create your message in the text field.
- Step 4: Create your message in the text field. After that, tap the three-dot menu and select “Schedule message.”
- Step 5: Pick the date and time for your business message.
- Step 6: After that, click on confirm. Your business message will be sent automatically.
How to schedule WhatsApp messages on Talk Magnet
TelebuSocial offers a seamless solution for scheduling messages. You can either use our API to trigger the message or schedule the message using our broadcast feature.
This video explains how to get this done.
TelebuSocial provides all you need to schedule as many messages as you need to. It’s easy to use. See how it works with a demo, or get started today.

")
